Danish pastry is loved all over the world for its flaky, buttery taste and tasty fillings. You can make these treats at home with the right skills and patience. They are a favorite among family and friends.
These pastries have a long history, starting in the 1850s when Viennese bakers brought their skills to Denmark. Since then, they’ve become a hit globally.
Whether you’re new to baking or have lots of experience, making danish pastry is an art. It involves creating laminated dough by layering butter between dough sheets. This is key to achieving that flaky texture.
There are many flavors and fillings to try, like cinnamon-sugar swirls, chocolate-hazelnut twists, and apple-filled pastries. They’re perfect for any celebration.
Key Takeaways
- Mastering danish pastry requires patience and the right techniques.
- Danish pastry has a rich history, dating back to the 1850s.
- Laminated dough is a key component of making delicious danish pastries.
- Various flavors and fillings can be used to create unique danish pastries.
- Proper dough chilling time is crucial for making the best danish pastry.
- High-quality ingredients, such as European-style butter, are essential for making delicious danish pastries.
- Danish pastry baking classes can provide hands-on instruction and personalized attention.
Introduction to Danish Pastry History
The history of Danish pastry is rich and fascinating, spanning centuries and continents. To understand this beloved treat, we must explore its evolution. The term “wienerbrød” or “Viennese bread” shows the Austrian influence on Danish baking.
In Denmark, bread-baking started in the mid-19th century with Austrian techniques. This was due to a labor shortage. It began a new era in Danish pastry history, with bakers experimenting with new ingredients and techniques.
Today, Danish pastry is enjoyed worldwide. It’s made with a dough of 27 layers, thanks to rolling, folding, and chilling. The dough includes wheat flour, butter, milk, eggs, and yeast, with butter being the traditional fat.
Some interesting facts about Danish pastry history include:
- The first Kringle in Racine, Wisconsin, was likely made around the turn of the century, post-1900.
- O&H Danish Bakery was founded in 1949 and is now run by its fourth generation of bakers.
- In 1956, Dwight and Lady Mamie Eisenhower received Kringle, which significantly increased its popularity.
Key Ingredients for Perfect Danish Pastry
To make a delicious danish pastry, you need the right ingredients. The quality of these ingredients is key. For flour, all-purpose flour is a top choice. It balances strength and tenderness well.
Unsalted butter is another must-have. High-quality butter makes the pastry flaky and rich. Also, active dry yeast is essential for the dough to rise. Make sure to pick the right type of yeast for your recipe.

- 2 and 1/2 cups all-purpose flour
- 14 tablespoons cold unsalted butter
- 2 and 1/4 teaspoons active dry yeast
With these ingredients and a good recipe, you’ll make a tasty and authentic pastry.
Techniques for Making Flaky Layers
To get the perfect danish pastry layers, you need to know about lamination. This means rolling out the dough, folding it, and chilling it several times. This process creates the layers of butter and dough that make the pastry flaky.
It’s important to roll the dough evenly to get flaky layers. Aim for a thickness of about 1/4 inch (6 mm). This ensures the pastry is light and flaky, with a tender crumb.
Here are some tips for achieving the perfect flaky pastry:
- Keep the butter cold: This will help to create a flaky texture and prevent the butter from melting into the dough.
- Don’t overwork the dough: Mix the ingredients just until they come together in a shaggy mass, then let the dough rest to allow the gluten to relax.
- Use the right type of flour: A high-protein flour will help to create a strong gluten structure, which is essential for creating flaky layers.
By following these tips and techniques, you’ll be able to create delicious danish pastries with flaky, buttery layers. Remember to be patient and take your time when working with the dough. This will help ensure the flaky pastry layers are evenly distributed and the finished pastries are light and airy.
| Step | Description | Time |
|---|---|---|
| 1 | Rolled out the dough | 15 minutes |
| 2 | Folded the dough | 10 minutes |
| 3 | Chilled the dough | 1-2 hours |
Classic Danish Pastry Recipes to Try
There are countless danish pastry flavors to try. From cinnamon rolls to almond cream danishes, the choices are endless. Let’s explore some classic recipes that highlight the best of danish pastry.
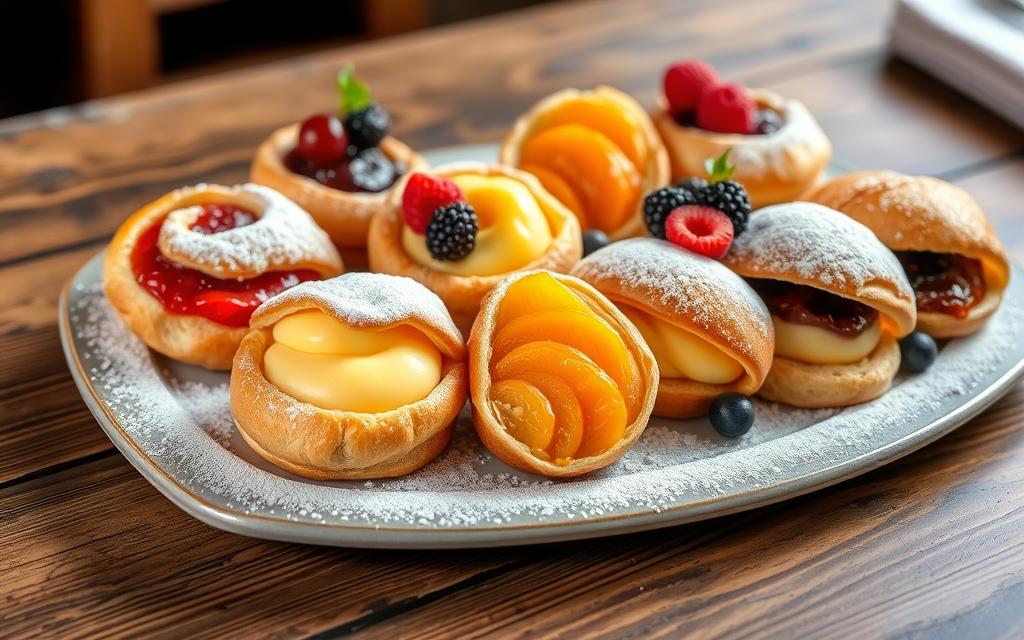
Fruit-filled pastries are a favorite, with berries, apples, and cherries being popular choices. They showcase the unique flavors and textures of danish pastry. Almond cream danishes also offer a rich and creamy taste experience.

Traditional Cinnamon Roll Recipe
This recipe is a classic, with its sweet and spicy cinnamon filling. You’ll need flour, sugar, and yeast, along with various spices for the flavor.
Almond Cream Danish Recipe
This recipe highlights the creamy side of danish pastry, with an almond filling. You’ll need almond paste, cream cheese, and sugar, plus spices for the flavor.
Fruit-Filled Pastry Variations
Fruit-filled pastries are great for showing off danish pastry’s unique flavors and textures. Options include berry, apple, and cherry fillings, each with its own taste and feel.
Common Mistakes to Avoid
When making Danish pastry, it’s key to know common mistakes. Danish pastry mistakes can be dodged with simple tips. One big mistake is overworking the dough, which makes it tough and dense.
This happens because too much work on the dough builds up gluten. This makes the pastry hard to get flaky and tender.
Another error is not controlling the temperature. Yeast needs the right temperature to work well. If it’s too warm or cold, the pastry won’t rise right. Pastry mistakes like these can be fixed by keeping everything at the right temperature.
To steer clear of these blunders, mix the dough just until it’s combined. Also, keep the ingredients and baking area at the correct temperature. Here are some tips to remember:
- Keep the ingredients at room temperature before mixing
- Don’t overwork the dough
- Control the temperature of the baking environment
By following these tips, you can sidestep common danish pastry mistakes and get a tasty, flaky pastry. Remember, getting better takes time. So, don’t worry if your first tries don’t go as planned. With practice, you’ll get the hang of making Danish pastry and avoid common pastry mistakes.
Creative Twists on Traditional Danish Pastries
Danish pastry twists offer endless possibilities. You can try savory options like spinach and feta or sweet ones like chocolate and hazelnut. Creative pastry lovers can mix different ingredients for unique flavors. Adding nuts or seeds to the dough gives the pastry texture and taste.
Savory danish pastries are a great choice for something new. Use spinach, feta, and sun-dried tomatoes for a tasty breakfast or lunch. For a sweet treat, try dessert danish pastries with chocolate, hazelnut, and fruit preserves.
Start making creative pastries by trying different fillings and toppings. Here are some ideas:
- Fruit preserves, such as strawberry or raspberry
- Nutella or other chocolate-hazelnut spreads
- Caramel or dulce de leche
- Chopped nuts or seeds, like almonds or sesame seeds
By mixing these ingredients in new ways, you can make danish pastry twists that wow everyone.
Tools and Equipment You’ll Need
To make delicious Danish pastry, you’ll need the right tools and equipment. Quality danish pastry tools and pastry equipment are key. A good quality rolling pin is essential for rolling out the dough to the right thickness.
Other must-haves include a mixing bowl, a measuring cup, and a pastry blender. A pastry blender is great for mixing ingredients, especially when making the dough. You can also use a bench scraper to scrape the dough off the counter and into a bowl.
Essential Baking Tools
Here are some essential baking tools you’ll need to get started:
- Mixing bowl
- Measuring cup
- Rolling pin
- Pastry blender
- Bench scraper
These tools will help you to mix, roll, and shape the dough with ease. You can also invest in a digital kitchen scale to measure the ingredients accurately.
Recommended Brands for Pastry Tools
Many brands offer high-quality danish pastry tools and pastry equipment. Look for brands that offer durable and long-lasting products. Zulay Kitchen is a popular brand that offers a range of baking tools, including a 13-inch Danish dough whisk.
Remember, investing in quality tools and equipment will make a big difference in the outcome of your baked goods. With the right tools, you’ll be able to create delicious Danish pastry that’s sure to impress.
Serving and Storing Danish Pastries
When serving and storing Danish pastries, it’s key to follow best practices. This helps keep them fresh and tasty. If you’re looking to buy Danish pastry, choose a reputable bakery or store. They should offer traditional Danish pastry options.
To keep your Danish pastries fresh, store them in an airtight container at room temperature for up to 2 days. For longer storage, freeze them for up to 2 months. Wrap the pastries tightly in plastic wrap or aluminum foil to prevent moisture.
Best Practices for Serving Fresh Pastries
Serving fresh Danish pastries is essential to enjoy their full flavor and texture. Serve them within a day or two of purchase. Store any leftovers in an airtight container to keep them fresh.
How to Store Leftovers Properly
If you have leftover Danish pastries, store them in an airtight container in the refrigerator for up to 5 days. You can also freeze them for up to 2 months. When thawing frozen pastries, thaw them in the refrigerator overnight. This helps maintain their texture and flavor.
Source Links
- https://www.jaxcakeshop.com/demystifying-danish-pastry-tips-and-techniques/
- https://travel-buddies.com/the-art-of-baking-danish-pastry/
- https://cremefilledchurros.com/croissants-danish-and-puff-pastry-secrets/
- https://www.ohdanishbakery.com/hygge-blog/danish-culture/oh-danish-bakery-history-tradition-danish-cakes-pastries?srsltid=AfmBOoo8aALKyBHX-B6dhUD-oVZTlgrPYqn-zNHGd1fluUfGYE6K03Lx
- https://adventure.com/global-obsession-danish-pastries-copenhagen-bakeries/
- https://en.wikipedia.org/wiki/Danish_pastry
- https://sallysbakingaddiction.com/danish-pastry-dough/
- https://www.allrecipes.com/recipe/27342/danish-pastry/
- https://www.browneyedbaker.com/danish-pastries/
- https://www.sugarsaltmagic.com/how-to-make-danish-pastry/
- https://skandibaking.com/danish-pastry-dough-wienerbrodsdej/
- https://cherrybombe.com/blogs/recipes/nichole-accettola-danish-dough
- https://www.kingarthurbaking.com/recipes/danish-pastry-recipe
- https://www.scandiculture.org/blog/best-danish-pastries
- https://www.kingarthurbaking.com/blog/2013/02/19/danish-pastry-beauty-or-the-beast
- https://www.bbcgoodfood.com/howto/guide/baking-sos-how-rescue-10-common-pastry-problems-richard-burr
- https://infiniteflavors.blog/unlocking-danish-pastry-baking-secrets/
- https://www.crumbblog.com/cranberry-danish-twist-bread/
- https://www.underthemangotree.crespoorganic.com/2024/04/26/mango-blackberry-cheese-danish/
- https://food52.com/blog/17357-how-to-make-danishes-at-home-even-with-store-bought-pastry-dough?srsltid=AfmBOopMGgpn8oEH1YOeEhQR1pbsOBalLdn6TINIMMpH8O6Br1-LNK_b
- https://www.seriouseats.com/danish-dough-whisk-brodpisker
- https://pastryathome.com/the-essential-pastry-tools-list/
- https://www.preservemania.com/does-it-go-bad/do-danish-pastries-go-bad/
- https://www.preservemania.com/food-shelf-life/freshly-baked-danish-pastries/
- https://www.schulstadbakerysolutions.us/bakeathome/faq/